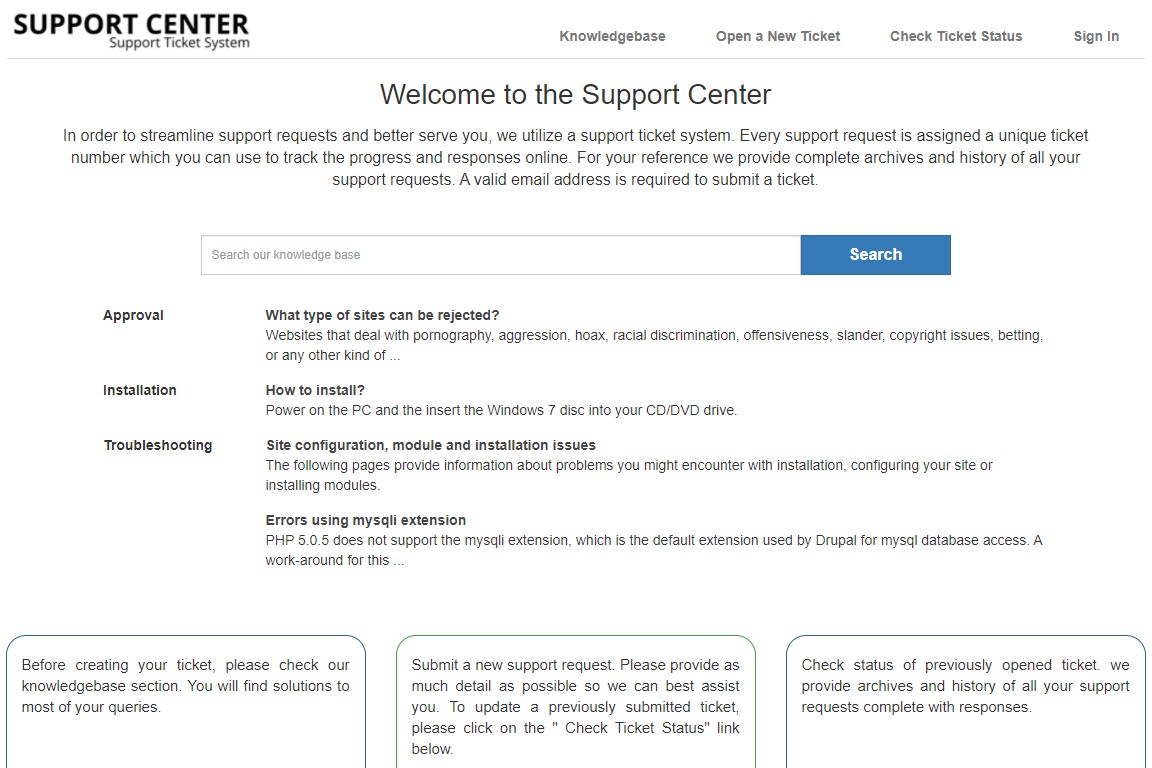
Adding custom fields to forms in osTicket allows you to collect specific information from customers when they submit support tickets. Here's a step-by-step guide on how to add custom fields to forms in osTicket:
1. Log in to osTicket:
- Open your web browser and navigate to your osTicket admin URL.
- Log in with your administrative credentials.
2. Access Form Customization:
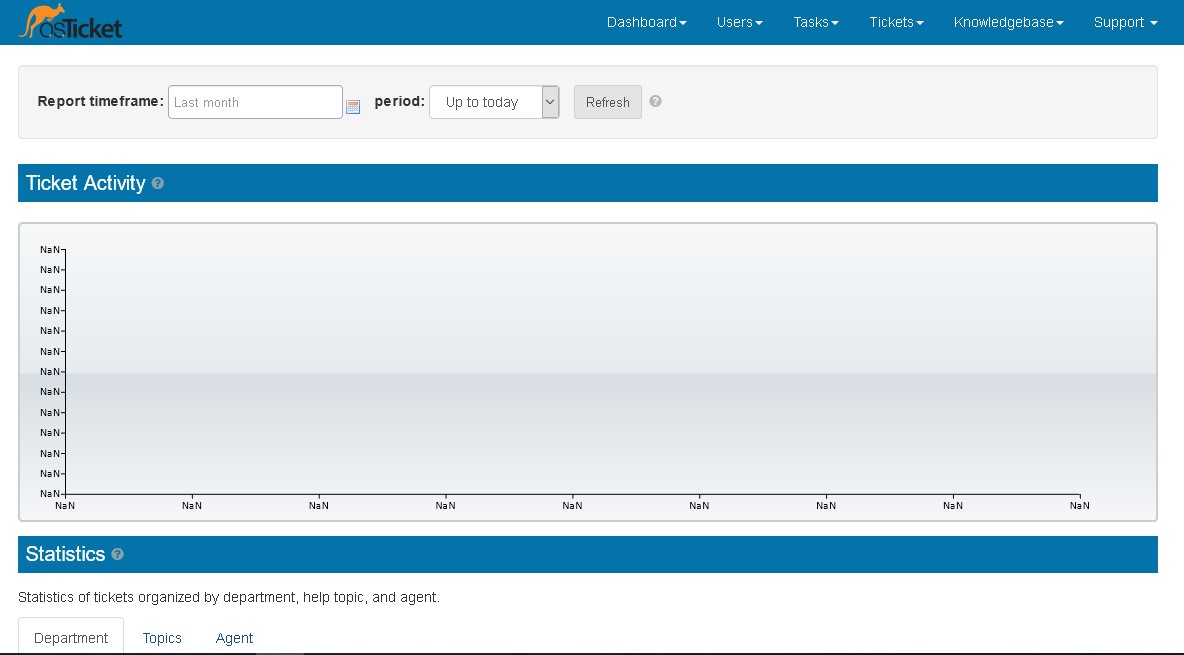
- In the admin panel, click on "Admin Panel" in the upper-right corner.
3. Navigate to Manage Forms:
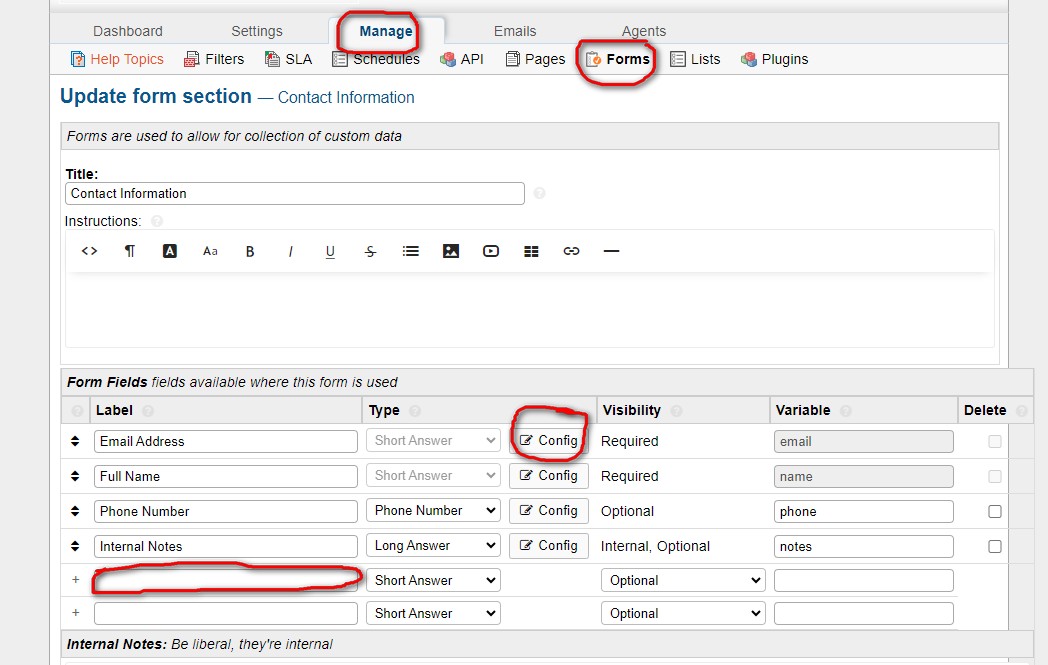
- In the admin panel, locate and click on "Manage" and click "Forms" in the dropdown menu.
4. Select a Form:
- You'll see a list of forms, including "Contact Us" and other custom forms you may have created.
- Choose the form to which you want to add custom fields. If you want to add fields to the "Contact Us" form, select it.
5. Add a Custom Field:
- To add a custom field to the selected form, add the "new fields" in the available textfields.
6. Configure the Custom Field:
-
You'll be presented with options to configure the custom field:
- Field Type: Choose the type of field you want to add (e.g., text, dropdown, checkbox).
- Field Title: Enter a descriptive title for the custom field that will be displayed on the form.
- Field Description: Optionally, provide additional instructions or information about the field.
- Is this a required field? Specify whether the field is mandatory for users to fill out.
- Field Options: Depending on the field type, you may need to define options (e.g., dropdown choices, checkbox labels).
- Visibility: Determine who can see this field (e.g., staff only, public).
7. Save the Custom Field:
- After configuring the custom field, click the "Save" and "Save Changes" button to add it to the form.
8. Reorder or Edit Custom Fields (Optional):
- You can rearrange the order of custom fields on the form by using the drag-and-drop functionality, usually provided in the form customization interface.
- To edit or delete a custom field, click on the field's title or an associated "Edit" or "Delete" button.
9. Test the Custom Field:
- To ensure that the custom field is working as intended, go to the customer-facing support portal.
- Access the form to which you added the custom field and verify that it displays correctly.
By following these steps, you can easily add custom fields to forms in osTicket, allowing you to collect specific information from users when they submit support tickets. Custom fields can be helpful for tailoring the support experience to your organization's needs and streamlining the information-gathering process.
