Creating custom email templates in osTicket allows you to personalize and standardize the messages sent to your users. Here's a step-by-step guide on how to create custom email templates in osTicket:
1. Log in to osTicket:
- Open your web browser and navigate to your osTicket admin URL.
- Log in with your administrative credentials.
2. Access Email Templates:
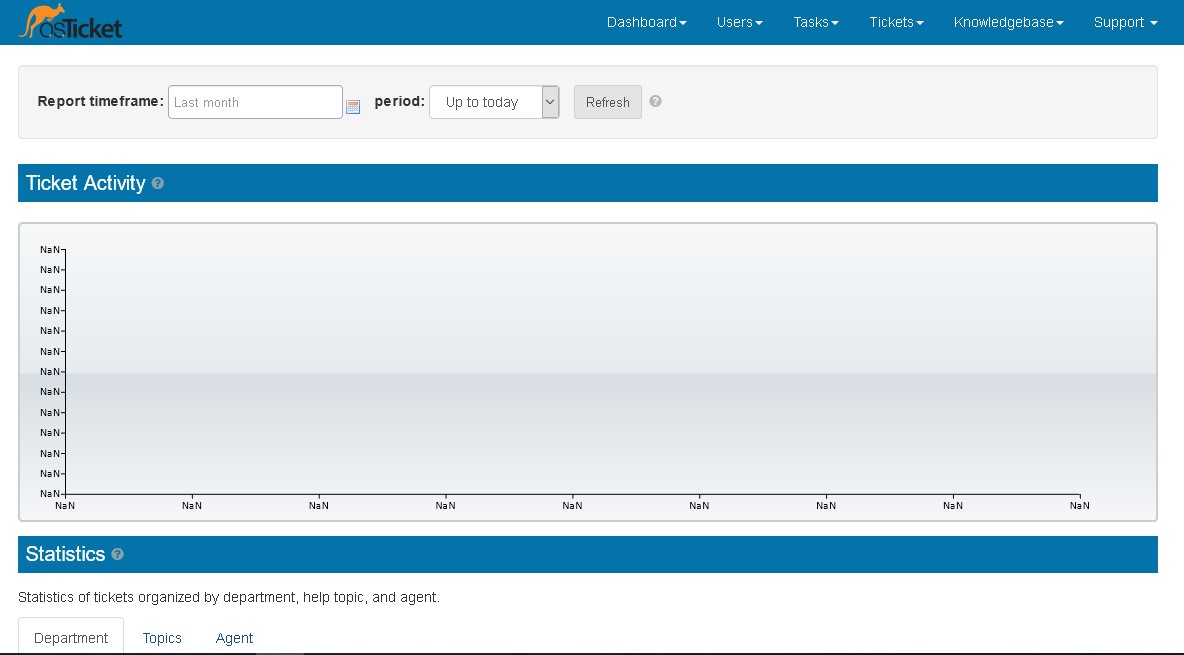
- In the admin panel, click on "Admin Panel" in the upper-right corner.
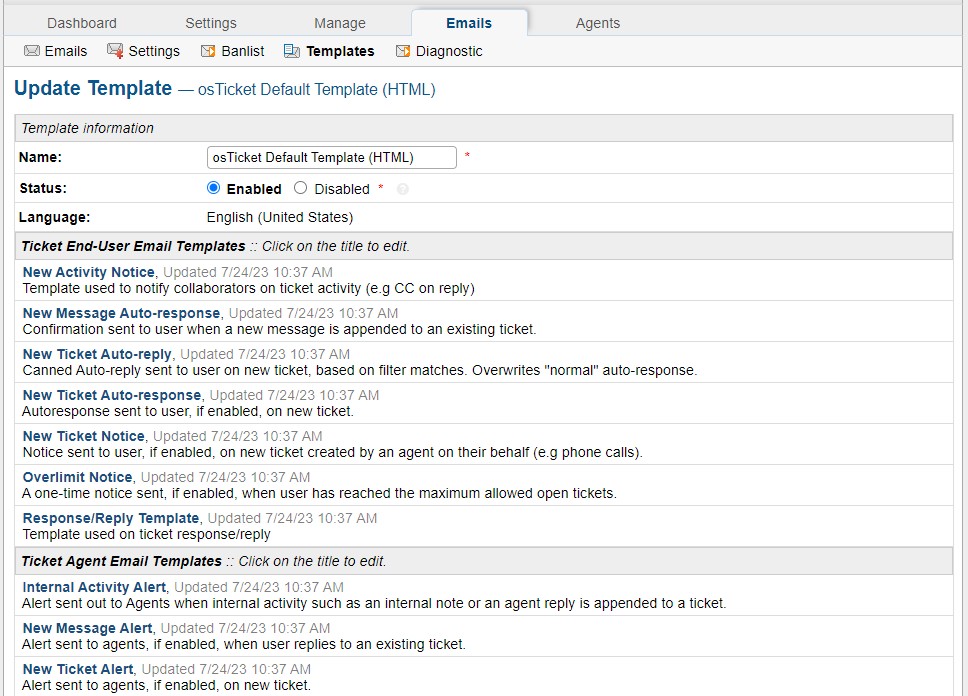
- Navigate to "Emails" and then select "Templates."
3. Manage Email Templates:
- Add and Edit templates in this section
4. Create a New Email Template:
- Look for an option to create a new template. It might be labeled as "Add New Template" or similar.
- Click on this option to start creating a new email template.
5. Configure Template Settings:
-
You'll typically find settings to configure the email template. These may include:
- Template Name: Give your template a descriptive name.
- Subject: Specify the subject line of the email.
- Department: Choose the department to which this template applies.
- Type: Select the type of template (e.g., New Ticket Alert, Correspondence).
6. Customize Email Content:
- In the content section, you can use variables or placeholders to dynamically insert information. For example, you might include variables for the ticket number, user's name, or other relevant details.
- Use the rich text editor to format the email content, add images, and create a professional-looking message.
7. Save the Email Template:
- After customizing the content, look for a "Save" or "Save Changes" button. Click this button to save your new email template.
8. Test the Template:
- It's a good practice to test your new email template to ensure it appears as intended and includes the dynamic information correctly. Some systems have a "Test" or "Preview" feature for this purpose.
9. Edit or Delete Templates (if needed):
- If you need to make changes to an existing template, find the option to edit it. This might be labeled as "Edit," "Modify," or something similar.
- If you want to remove a template, there may be a "Delete" option. Be cautious when deleting templates, as it may affect automated email communications.
10. Assign Templates to Triggers (optional):
- In osTicket, email templates are often associated with triggers that dictate when they are used. You might have to configure or edit triggers to use your custom email templates.
11. Save Changes:
- Always remember to save your changes after creating, editing, or deleting email templates.
By following these steps, you can create custom email templates in osTicket, allowing you to tailor your communication with users and ensure a consistent and professional appearance for automated emails generated by the system.
