Installing osTicket on a local server, such as XAMPP or WAMP, for testing purposes allows you to evaluate the ticketing system in a controlled environment. Here's a step-by-step guide on how to install osTicket on a local server:
1. Download osTicket:
- Visit the osTicket download page (https://osticket.com/download/) and download the latest version of osTicket. Choose the "osTicket Core" package.
2. Install XAMPP or WAMP:
- If you don't already have XAMPP or WAMP installed on your computer, download and install one of these local server environments. You can download XAMPP from https://www.apachefriends.org/index.html and WAMP from https://www.wampserver.com/en/.
3. Start XAMPP/WAMP:
- Launch XAMPP or WAMP from your computer and start the Apache web server and MySQL database server.
4. Create a Database:
- Open your web browser and visit http://localhost/phpmyadmin/.
- Click on "Databases" and create a new database for osTicket. Note down the database name, username, and password you set during this process.
5. Extract osTicket:
- Unzip the osTicket package you downloaded in step 1.
- Move the contents of the "upload" folder to your XAMPP/WAMP web server's document root. This is typically the "htdocs" folder in XAMPP or the "www" folder in WAMP.
6. Configure osTicket:
- Rename the "include/ost-sampleconfig.php" file to "include/ost-config.php."
-
Open "include/ost-config.php" in a text editor and configure the database settings:
- Set the database type to "mysql."
- Enter the database hostname (usually "localhost").
- Provide the database name, username, and password you created in step 4.
- Save the changes.
7. Install osTicket:
- Open your web browser and go to http://localhost/your-osTicket-directory.
-
Follow the on-screen instructions to install osTicket:
- Choose your language.
- Click "Begin Installation."
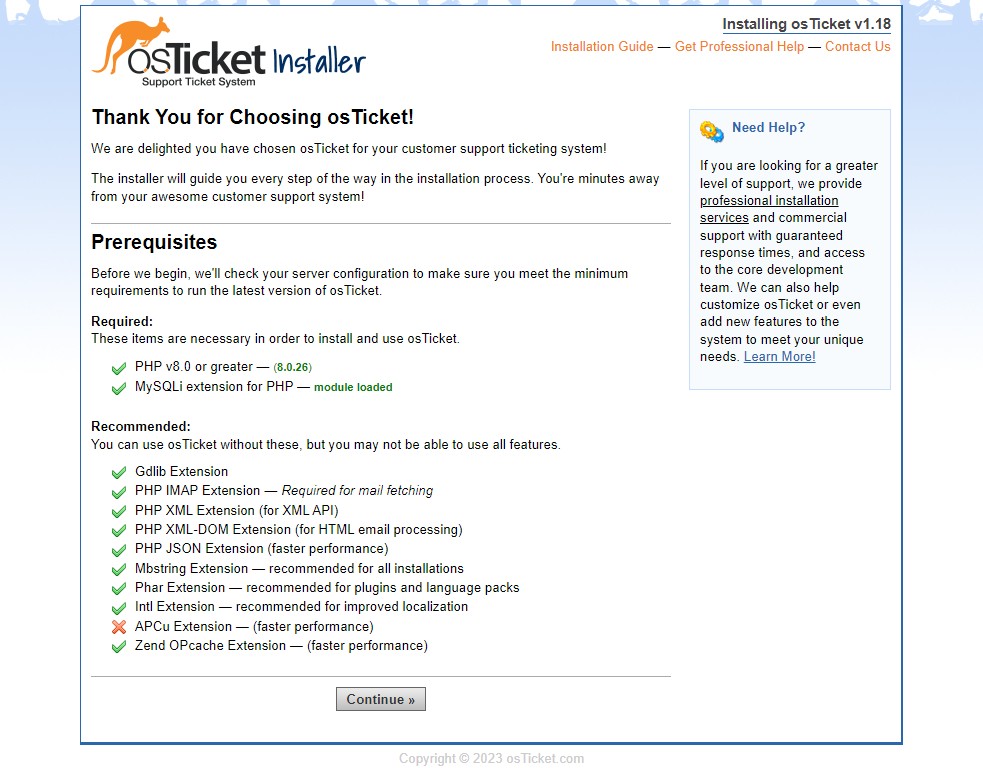
- Verify the requirements.
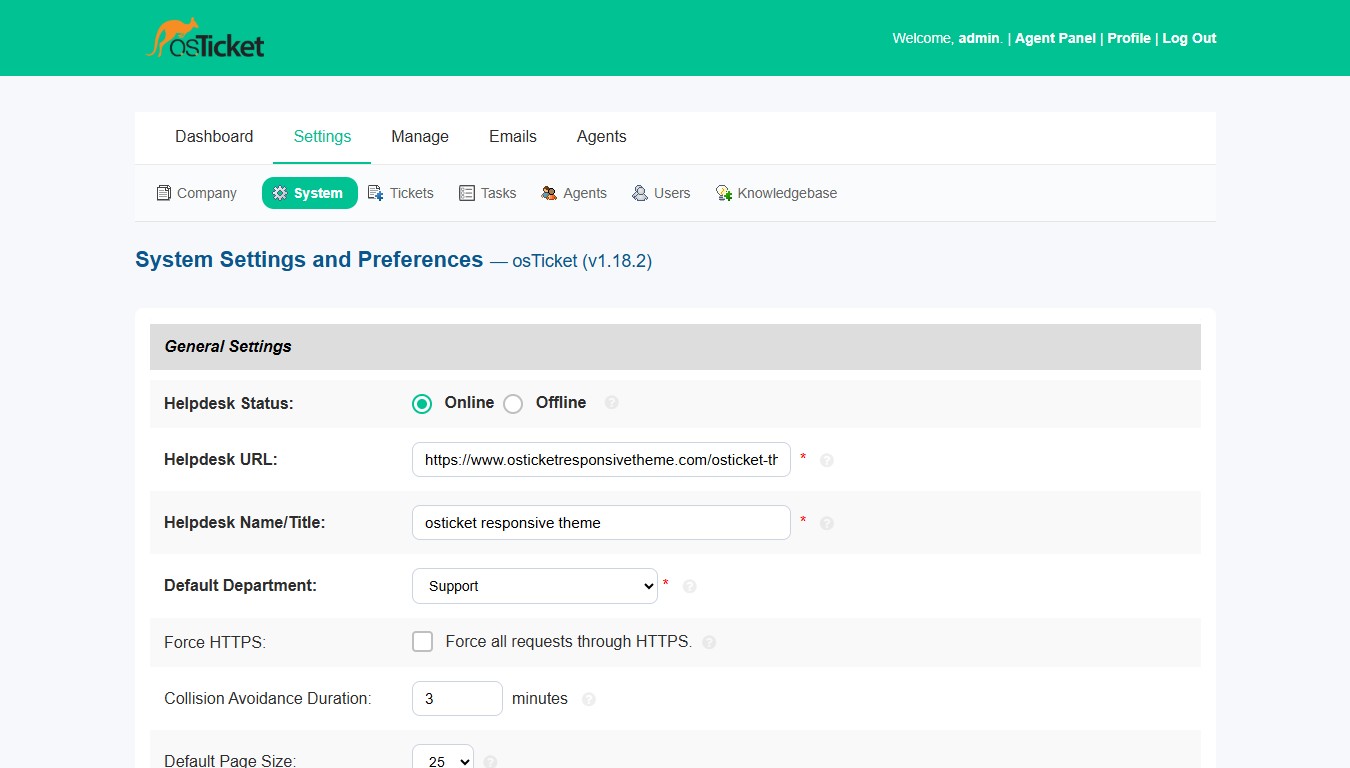
- Enter your system settings, including the admin email, password, and site name.
- Click "Install Now."
- Complete the installation process.
8. Log in to osTicket:
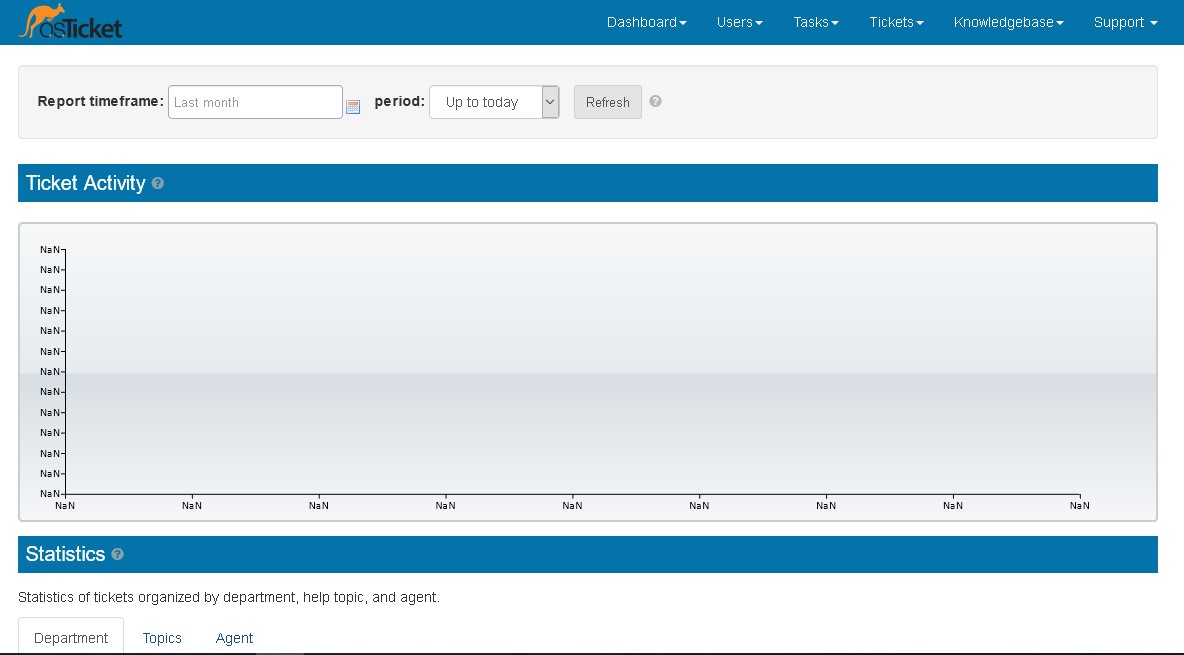
- Once the installation is complete, you can access the osTicket admin panel at http://localhost/your-osTicket-directory/scp (replace "your-osTicket-directory" with the actual directory name).
- Log in with the admin email and password you provided during installation.
You have now successfully installed osTicket on your local server (XAMPP or WAMP) for testing purposes. You can use this local installation to explore osTicket's features, configure settings, and test ticket management in a controlled environment before deploying it to a production server.
